


A Practical Guide for UK Road Cars
Adjusting coilovers can sound intimidating, especially if you’re new to adjustable suspension. Many drivers assume the suspension has to come off the car every time a height change is needed — but in most cases, that simply isn’t true.
This guide explains how coilovers are adjusted on the car, when removal is required, and how to make changes safely without damaging components or compromising ride quality. This advice is focused on street-driven UK cars, not stripped-out track builds.
Can You Adjust Coilovers Without Removing Them?
In most cases, yes. Ride height on coilovers is typically adjusted by rotating the threaded spring perch or lower mount while the suspension is installed on the vehicle.
However, whether adjustment is easy or awkward depends on:
-
Suspension design (front strut vs rear setup)
-
How low the car currently sits
-
Corrosion or seized threads
-
Available clearance for tools
Many issues people encounter aren’t caused by the design of the coilovers — but by lack of preparation or incorrect technique.
What You Can Adjust on the Car
Ride Height
This is the most common adjustment and can usually be done with the coilovers fitted.
On most kits:
-
Front height is adjusted via the threaded body or lower mount
-
Rear height may be adjusted at the damper or spring perch, depending on the design
Small adjustments are best made gradually, checking both sides for consistency.
Damping (If Adjustable)
If your coilovers have damping adjustment, this is almost always done on the car using a knob or screw at the top or bottom of the damper.
No removal required.
What You Shouldn’t Adjust Without Care
Spring Preload
Preload is often misunderstood and incorrectly adjusted — and changing it blindly can cause knocking, harsh ride quality, or reduced suspension travel.
We cover preload in detail in 👉 What Is Preload on Coilovers?
Tools You’ll Need
Before adjusting anything, make sure you have:
-
The correct C-spanners for your coilovers
-
A wire brush (for cleaning threads)
-
Penetrating fluid (especially on older kits)
-
Jack and axle stands (never rely on a jack alone)
-
Tape measure (hub-to-arch measurements are best)
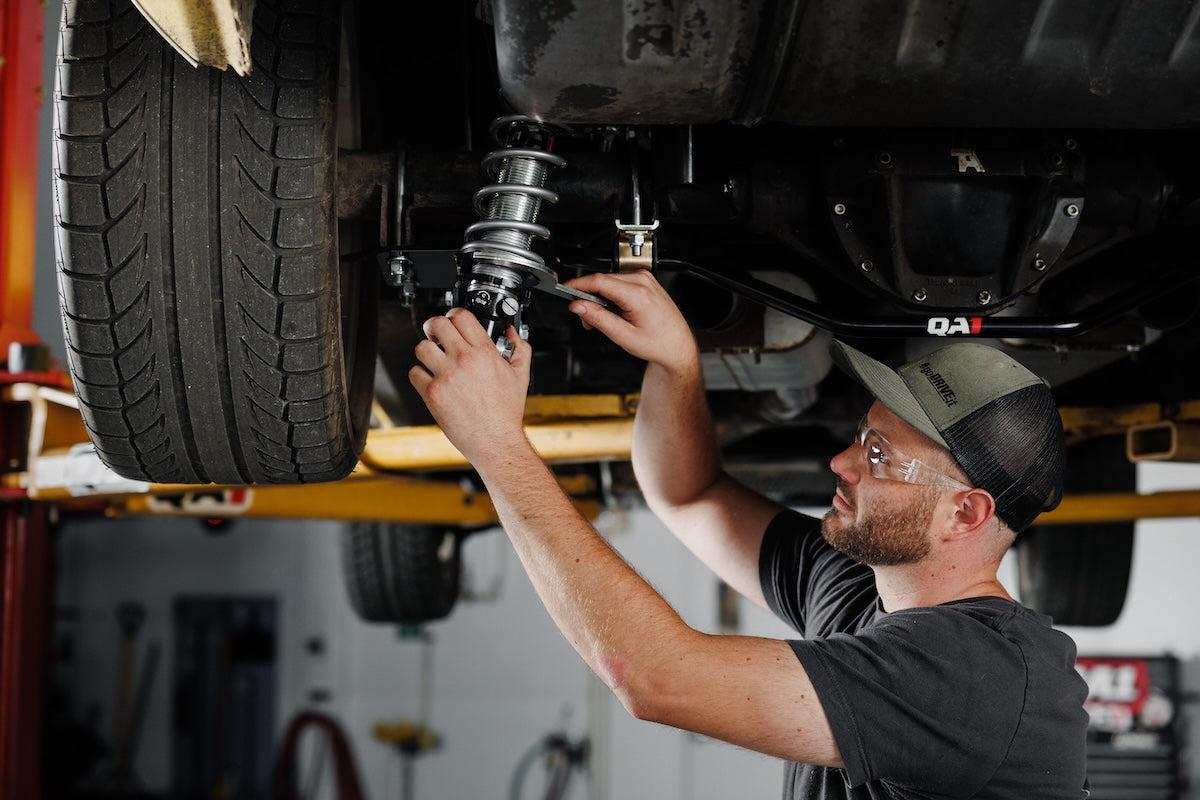
Step-by-Step: Adjusting Ride Height Safely
-
Lift the car safely
Jack the vehicle up and place it on axle stands so the suspension can droop slightly. -
Clean the threads
Dirt and corrosion make adjustment harder and increase the risk of damage. -
Loosen the locking collar
Always loosen the lock ring before turning the main adjustment collar. -
Adjust in small increments
A few turns can make a noticeable difference. Avoid large changes in one go. -
Match both sides
Count turns or measure thread exposure to keep the car level. -
Tighten locking collars properly
This prevents movement and knocking once back on the road. -
Lower the car and settle the suspension
Roll the car back and forth before re-measuring ride height.
When Coilovers Do Need Removing
Removal may be necessary if:
-
Threads are seized
-
The car is extremely low with no tool access
-
Bushings or top mounts need inspection
-
The coilovers require full cleaning or refurbishment
This is about maintenance — not normal adjustment.
Common Mistakes to Avoid
-
Adjusting height with weight fully on the suspension
-
Forcing seized collars
-
Changing preload instead of ride height
-
Forgetting to tighten lock rings
-
Skipping alignment after major changes
Final Advice
Adjusting coilovers doesn’t need to be complicated — but it does need to be done properly. Take your time, make small changes, and don’t confuse ride height adjustment with preload changes.
If you’re unsure, a professional alignment or setup check is always worthwhile.